1.) Open phpMyAdmin via your control panel and open “wp_users” table (or whatever your table prefix is “_users” table.
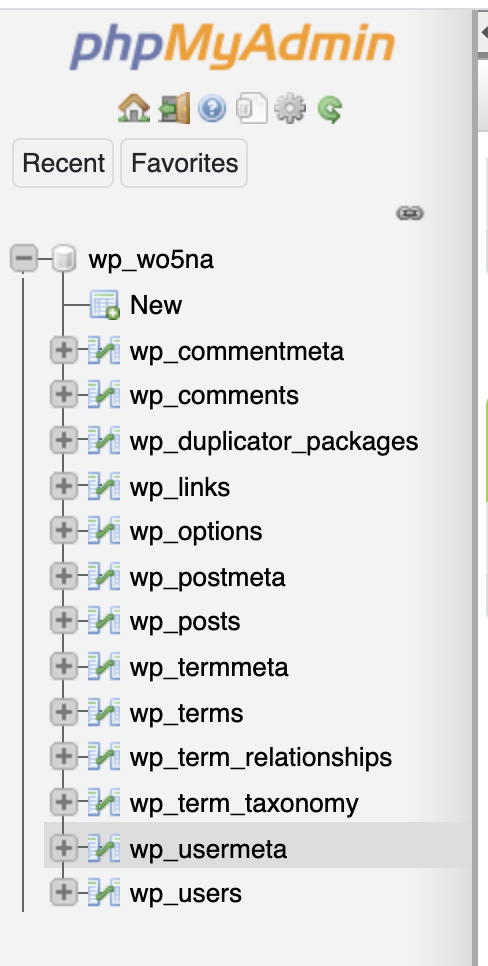
2.) Once in the “wp_users” table, make note of the existing users “IDs” and write down the next occurring user ID (We will need this later) then click on “Insert”.
You will need to enter in the following information
ID – This was the next occurring user ID not already in use.
user_login – This is the username of the user you are creating
user_pass – This is the password you’d like to set up on the account
user_nickname – This is the author name
user_email – This is the email address of the new user
user_status – Keep this set to ‘0’
display_name – This is the name displayed across the site.
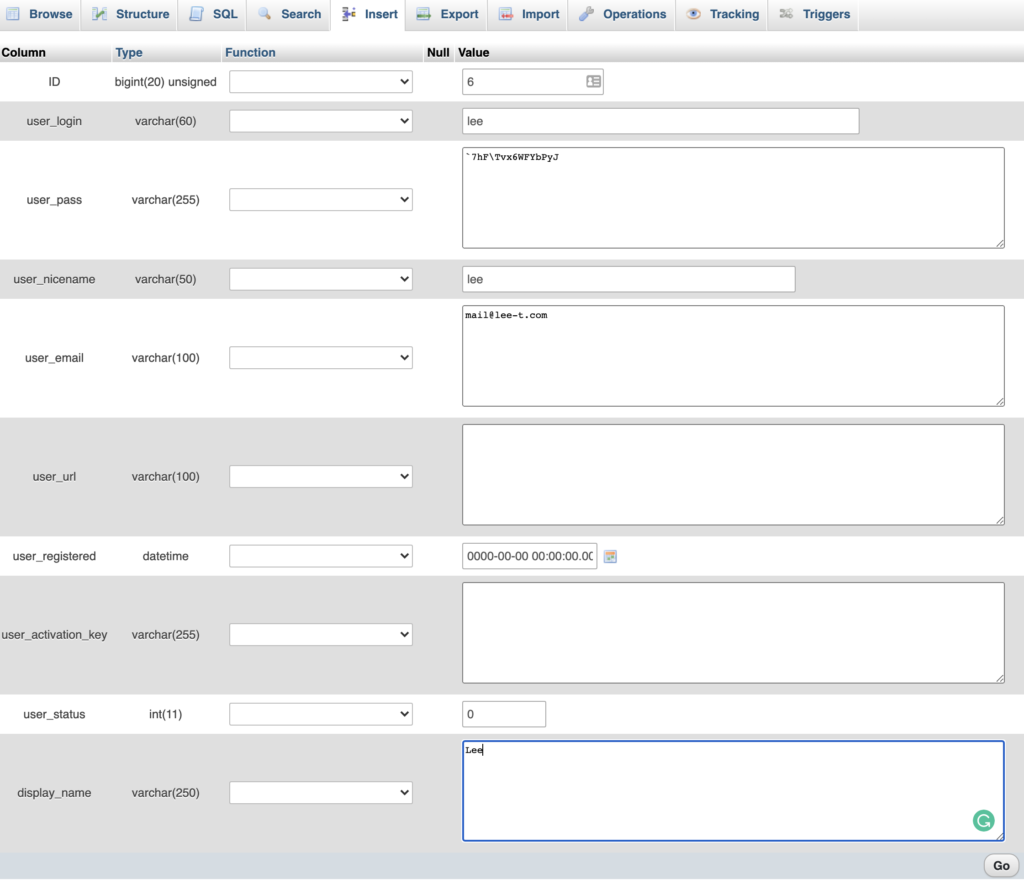
Once you have populated these fields, click on “GO”
3.) Now we need to go into another table “wp_usermeta”
4.) Click on “Insert” at the top of menu option.
user_id – This is the same ID as used in the previous steps
meta_key copy and paste in the following:
wp_capabilities
meta_value copy and paste in the following:
a:1:{s:13:"administrator";b:1;}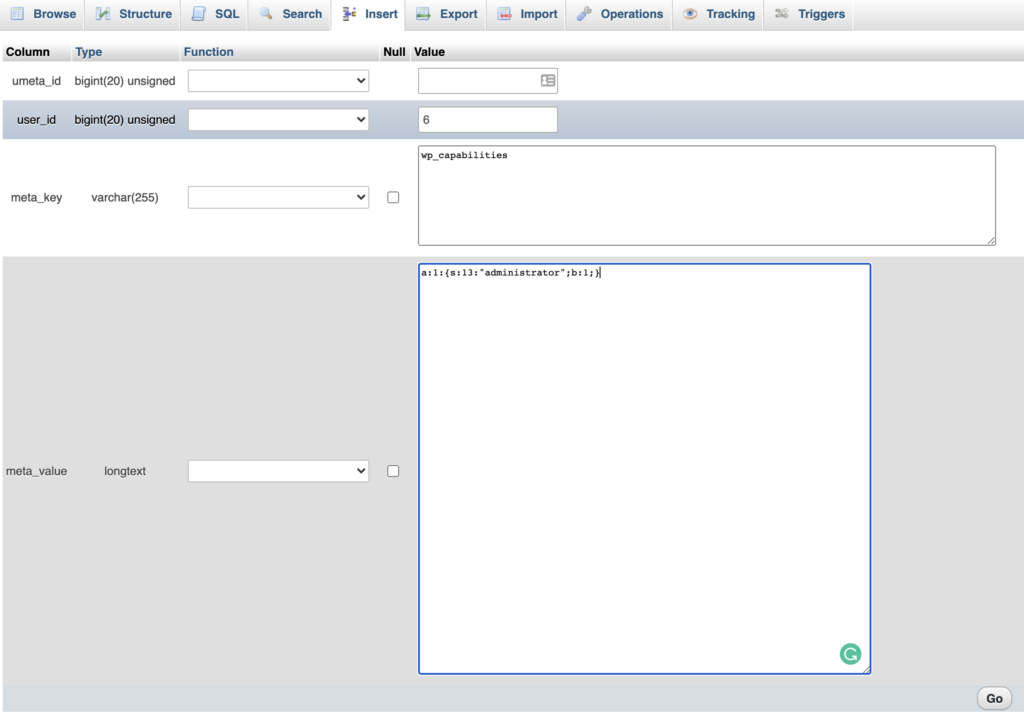
Once done, hit “GO”
5.) Click on “Inset” again on the wp_usermeta table
user_id – This is the same user ID you have used throughout.
meta_key copy and paste in the following:
wp_user_level
meta_value copy and paste in the following:
10
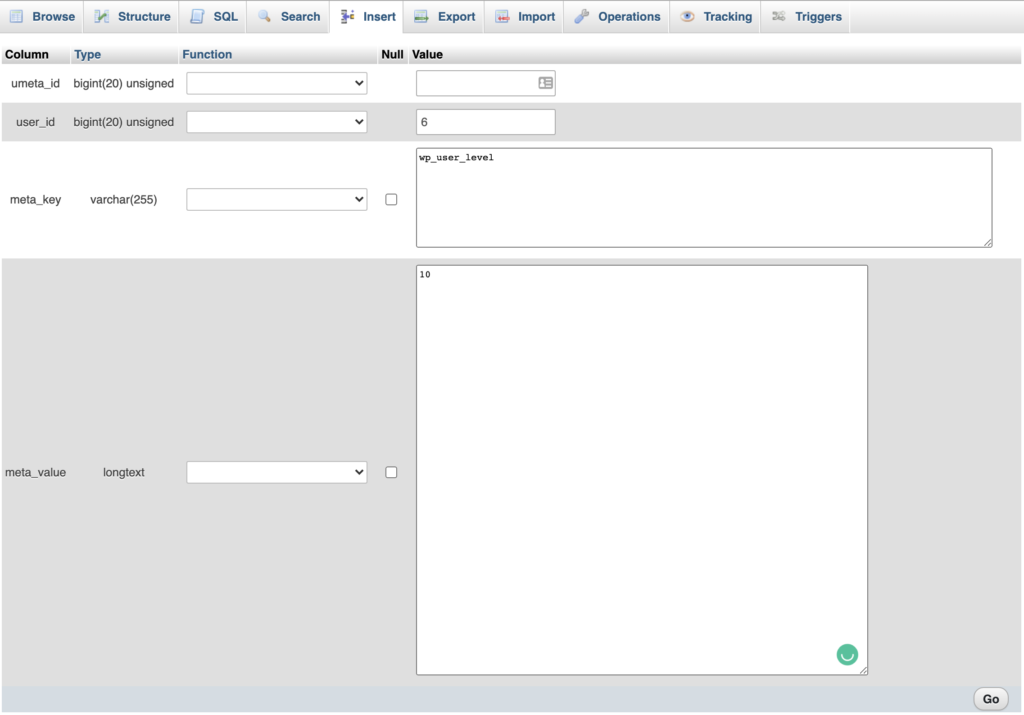
Once done, click on “GO”.
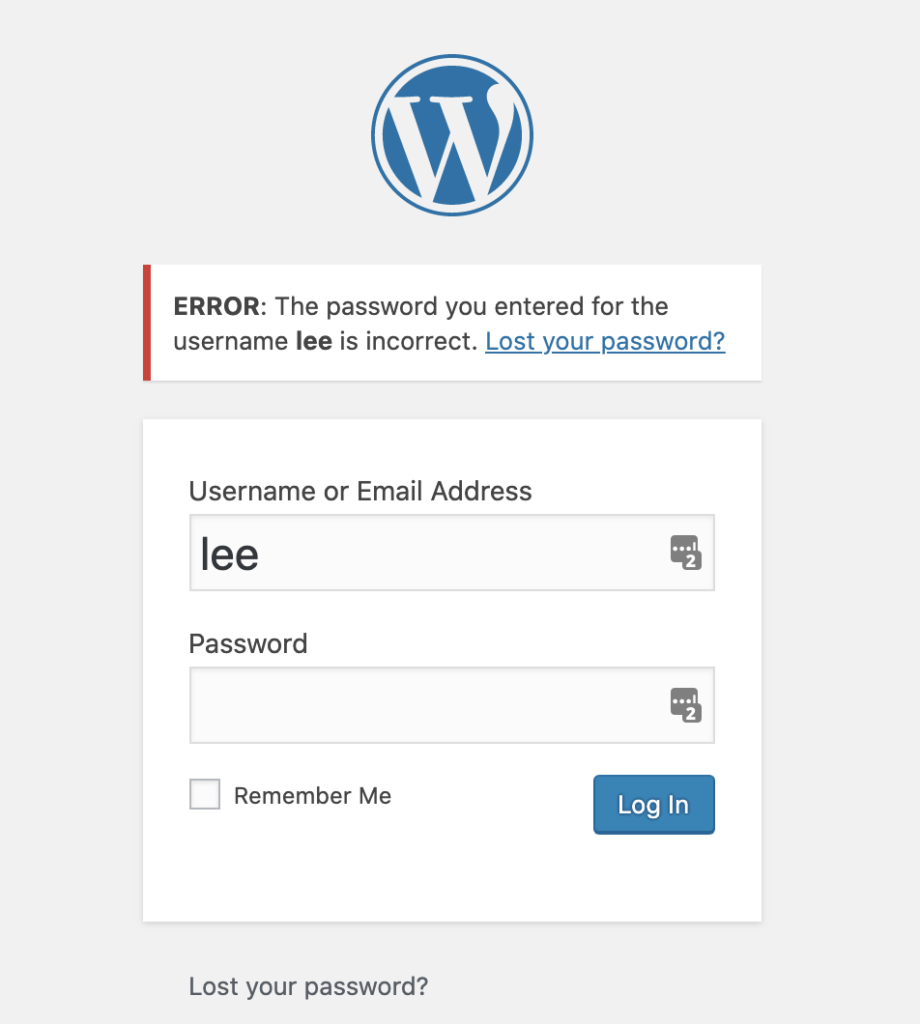
You should now be able to login to your website. Head back to your domain /wp-admin

If you experience issues or the password throws an error, try the “Lost your password” section, and type in your username or email address – and an email reset will be sent to you. You can then set up the password again.